
Supplies:
SK Balloon Tutorial Shapes Download Here
* If you would like other balloon shapes to use another time, you can download them from my blog HERE
1. Click on your Custom Shapes tool on the left.
2. Up top on your settings bar, click the down arrow beside the word Shape. Over to the right at the top, you will see a small circle with a black arrow, and click that. From the drop down menu, choose Load Shapes.
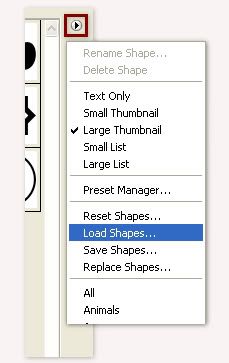
3. Find where you have saved SK Balloon Tutorial.csh from the supplies zip, click on it once, then click the load button.
* My two shapes will appear in your list.
4. Open up a transparent 500 x 500 image.
5. Go up to the shape list and double click on the round balloon shape.
6. Up at the settings bar at the top, click on Fill Pixels. Mode is Normal, Opacity is 100%, and Anti-alias is checked.

7. Click on your foreground colour swatch and your colour picker box will pop up. Type in #288acf at the bottom.
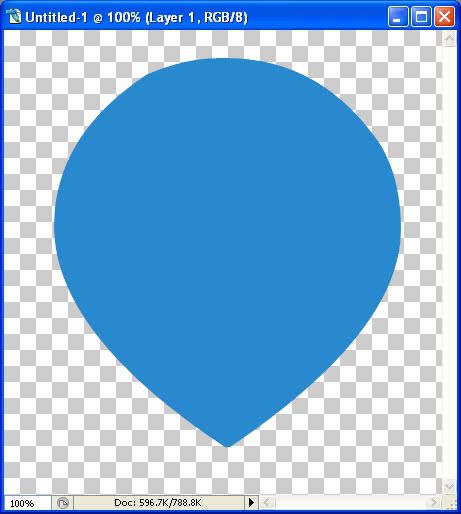
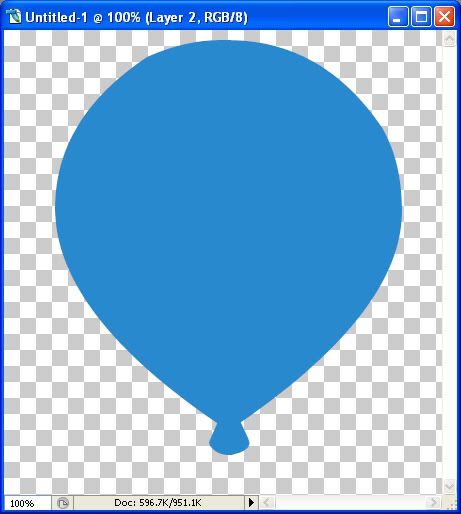
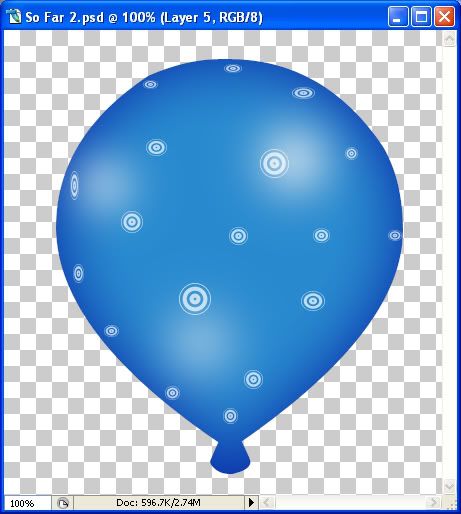
8. Hold down your Shift key, starting at the top left corner of your transparent canvas, drag out your balloon shape. Be sure to leave space at the bottom for the balloon lip we will add later. Use your mover tool to center it. This is what you should have so far:
9. Go up to the Layer tab at the top, select New, then select Layer.
10. Click on your Custom Shapes tool and double click on the cone shape.
11. Draw out a small cone for the lip of the balloon. Make sure it is in proportion to the balloon itself. Push it into place with your mover tool.
12. Right click on one of the two layers in the Layer Palette and choose Merge Visable.
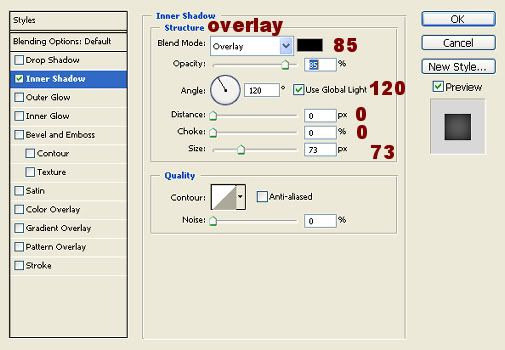
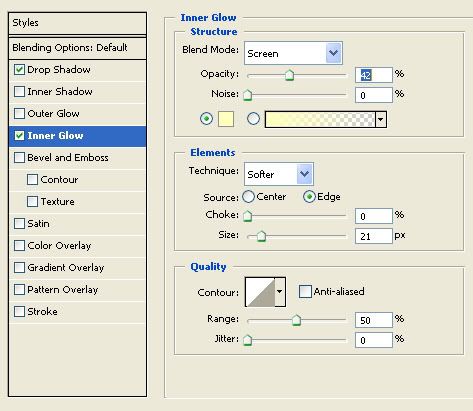
13. At the bottom of your Layers Palette on the right, click the grey circle with the f in it to bring up our Layer Styles box. Put your settings like the picture below:
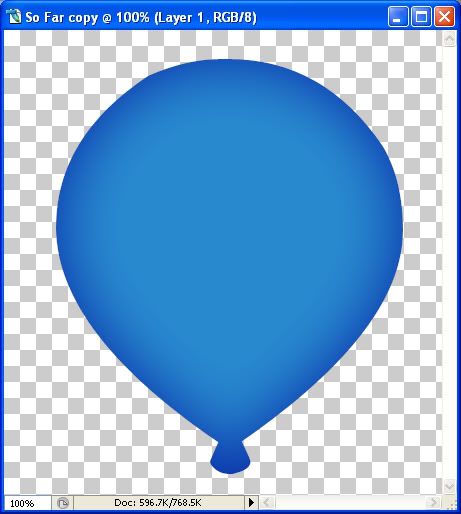
* This is what yours should look like now:
* Now you need to choose a shape for a decoration on your balloon.
14. Click the Custom Shape tool on the left and choose something simple. I'm going to be using a circle thingy.
15. Reset your foreground and background colours to black and white. Click the tiny black and white squares you see under the fg and bg to do that. Now click the doube arrow above the fg/bg swatches to make white your foreground colour.
16. Make a new layer by going up to the Layer tab, over to New, then to Layer.
17. Now draw out some small shapes on your balloon. When draging out your chosen shapes on the top and sides, don't hold down the shift key. We don't those ones to be perfect. They need to be a bit skewed so it looks like it is stretching around the balloon.
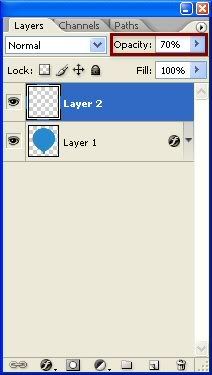
18. Once you have your decoration on, in the layers palette, lower the opacity of your shapes layer to about 70%.
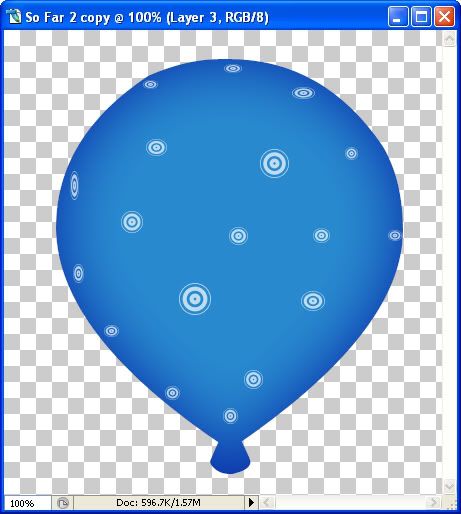
* Now we need to add some highlights.
19. Make a new layer, Layer tab, New, Layer.
20. Click on your Brush tool on the left. Choose the one that says Soft Round 100 pixels.
21. Make a new layer and drag it below your decorated layer. Click once somewhere near the top of your balloon, but leave enough space so when we blur it, it will not go over the edges.
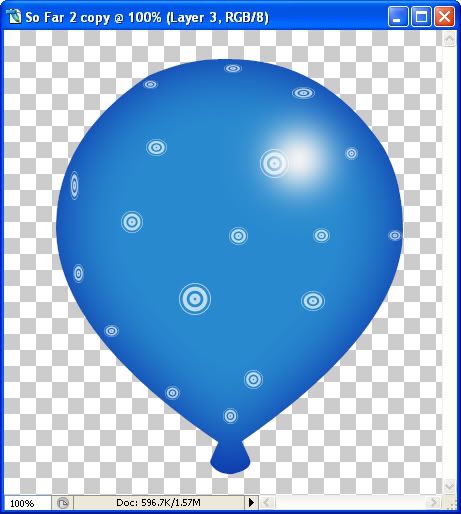
22. Go up to the Filter tab and down to Blur, then to Gaussian Blur and in the Radius section, put in 17, then in the layer palette, lower the opacity to about 90%.
23. Make a new layer and click once to add another highlight like in the picture below:
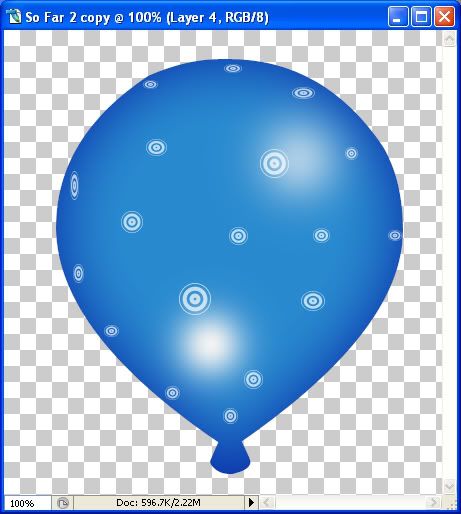
24. Gaussian blur it again using the same settings as before, then lower the opacity to about 60%.
25. Make a new layer and this time, change your brush size to somewhere around 80. Then, make our last lighlight like in the picture below:
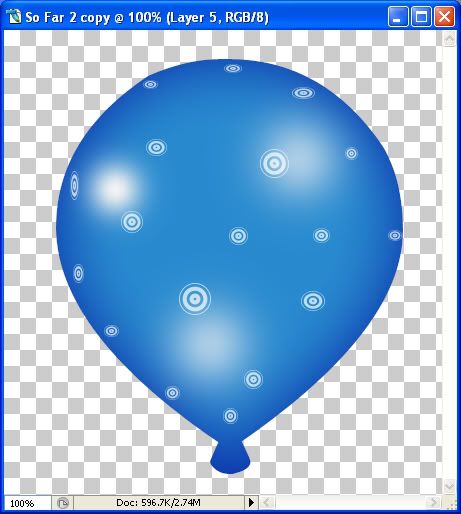
26. Gaussian blur it again, same settings, then lower the opacity to around 80%. Here's mine:
*Play with the opacity and highlights, see what you can come up with.
27. Right click on one of the layers and choose Merge Visable.
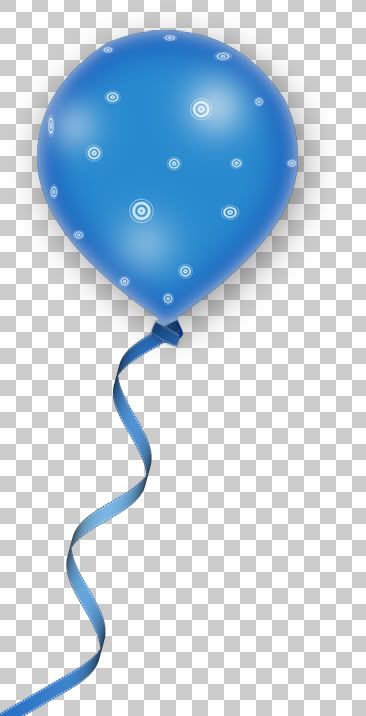
** I added a string and also a drop shadow and inner glow.
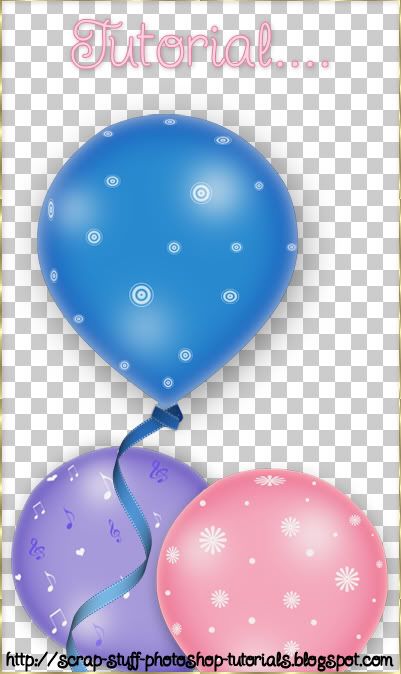
and here's my final result:
** Keep in mind when putting on the drop shadow and the inner glow that your balloon will look different depending on what scrap paper background you are going to be using. Try putting whatever paper you are going to be using behind your balloon image before you merge your shadow and glow layer. Play with the setting to see what looks good against it.
TOU:
If you do this tutorial, your end result is yours to do whatever you wish; give it away as a freebie, use it as part of a kit, or sell it for profit. You may not make this into an action or script to give away as a freebie or to sell for a profit. A mention or a link back here would be appreciated but is not mandatory. Please do not share the supplies or tut through email or any other means. If you are using this or any of my tutorials for your groups or as part of your own tutorial, please post a link to the tut on my blog and let your members download the supplies from my blog for themselves.
Thanks Misty from MissT Layouts for testing out my tut for me :)


Now these I think I may be able to replicate fairly closely in PSP - with the use of a heck of a lot of external filters anyway.
Thanks for these wonderful tutorials Shawna, I may not have PS (or any desire to leave PSP behind) but you inspire me so much.