
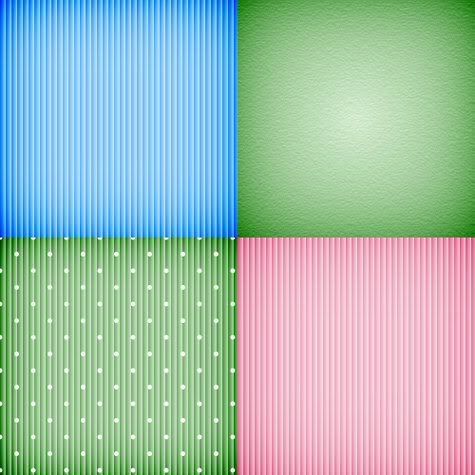
Supplies: sample image to work on Download Here.
1. Open up your Colour Burn Edges.png from the zip. In PSP, when we want to duplicate our image we use the Shift D key, in Photoshop we go to the Image tab, then to Duplicate, then just hit the OK button, and close out our original.
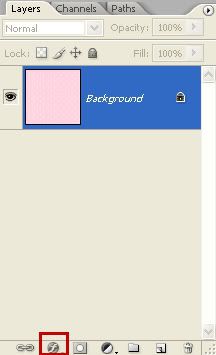
Next, we want to go to our Layer Styles options and the way to do that is to click on the the dark circle with the f in the middle of it. Right now, if you put your cursor over that little button, a circle with a line appears through it, and you are unable to get into your styles option. That's because you can't use layer styles on background layers. We need to make this a layer first. To do that, double click on the pink swatch thumbnail. When the New Layer box pops up, just hit OK. You'll notice it has turned from Background to Layer 0. Now we can use styles on it.
2. Click the circle with the f in the middle of it, then click on Blending Options, then click on Inner Shadow.
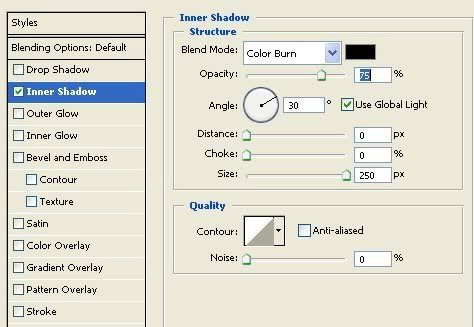
3. Change the Blend Mode to Colour Burn, and set the Distance to 0. Play with the Size and Opacity sliders and see how your pink polka dot swatch changes around it's edges. Make sure that Preview is checked on the right so you can view the changes in real time.


Thank you so much. This tutorial just made my life a whole lot easier!
Val