
You will also need my balloon layer styles which you can get Here.
1. Start by opening a 400 x 800 transparent image. Photoshop has probably automatically shrunk the viewing percentage down to 66.67%. If you look in the bottom left corner of your canvas, backspace out the numbers and type in 100%, hit enter, and drag one of the bottom corners out. It's much easier to see at full size.
2. Click on your custom shapes button on the left. Then go up to the tool bar at the top and click the down arrow beside the word shape.
3. From that flyout, click the small arrow pointing to the right, and from that flyout choose Load Shapes. Find where you downloaded my SK Balloons 2008.csh file and click it once to select it, then click on the Load button. All of the balloon shapes should now be visable.
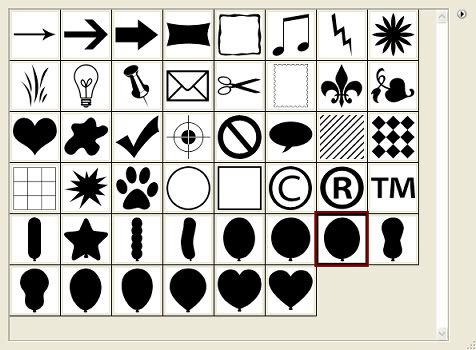
4. Click on the third round balloon.
5. Set your foreground to white, hold down your Shift key and draw out the shape on your canvas. Use your mover tool to reposition it if needed.
6. Next, go over to the Layer Styles box on the right. Click the arrow pointing to the right, and select Reset Styles. A box will pop up asking Replace Current Styles with Default Styles? Click Yes.
* You should always reset your styles before loading any others so you don't get confused as to what is in there, and the styles box doesn't get all cluttered up.
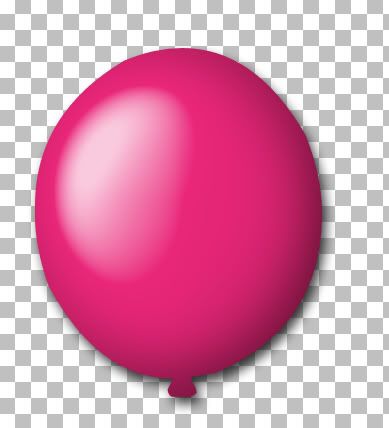
7. Go back to the styles box, click the arrow again, this time choose Load Styles. Find the one called SK Regular Balloon.asl and click Load.
8. Click the dark pink square that is now in your styles box and your balloon will change to a solid pink.
* You can change the colour by clicking on the layer styles button at the bottom of the layer palette ( grey circle with the letter f in it). Click on colour overlay and just click on the dark pink box and choose a different colour.
* You can also change or delete the drop shadow by taking the check mark out of the drop shadow box to delete it completely or by just changing the size or opacity of the shadow.
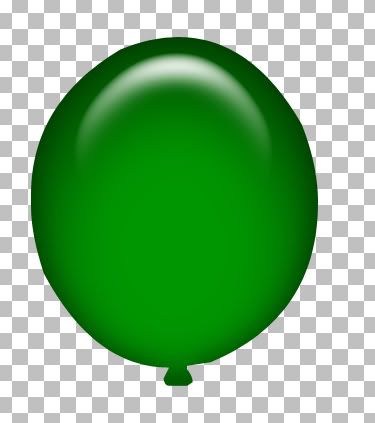
9. Let's try another style. In the Styles box, click on the white square with the red line going through it. That will bring your balloon back to having no styles attached to it. Repeat the process of loading a new style and choose SK Regular Latex Balloon2.asl. With this one, if you wish to change the colour, you need to change 3 different settings; colour overlay, inner glow, and inner shadow. Fiddle around with those settings and see what you can come up with.
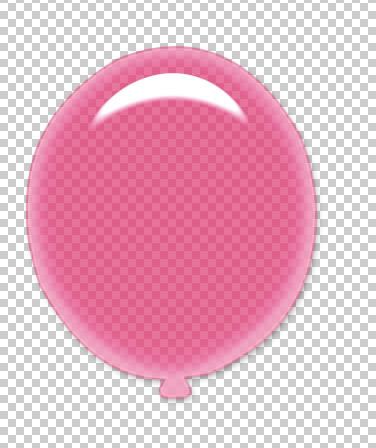
10. Clear that style with the white circle and red line and now open up SK Transparent Balloon.asl. This one is is a little more see through than the others. To change the colour, you need to change the stroke colour as well as satin colour.
* You can also add patterns to your layer styles to make designs on your balloons.
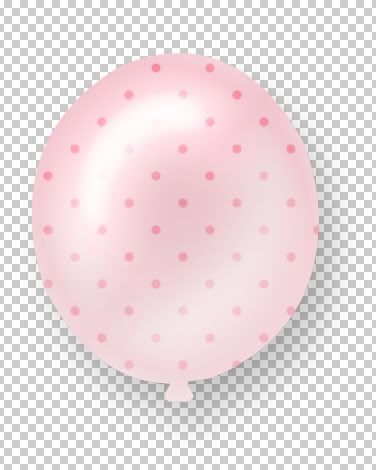
Go Here to learn how to use patterns on shapes.


People should read this.