
Adding a premade layer style to an image is a quick and easy to way to get very nice effects like shadows, bevels and colour all in one shot. There are thousands of free layer styles available for photoshop users on the net. The best and biggest place I've found is Adobe Exchange. People upload the styles that they've created and they are free for you to download and use in your projects. I think you need to sign up before you are able to download anything, but it's worth it. In the next few tutorials, I'll show you some styles I've made for making great looking balloons and easter eggs, but first, let's take a look at how to load the default styles that come with Photoshop.
1. Start by opening up a 400 x 400 transparent image.
2. Type out a letter onto your canvas, any fat text will do, and you can use any colour, it doesn't matter.
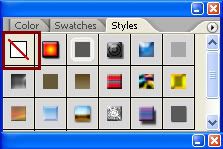
3. Over on the right, you will see your Layer Styles box. Click on the Styles tab and you should see this:
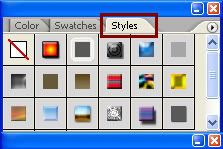
* These are the PS default styles. Not very impressive stuff, but once you learn how styles work, you can download some fantastic ones from Adobe Exchange or make your own.
4. Click on the first style, and see how your text letter changes
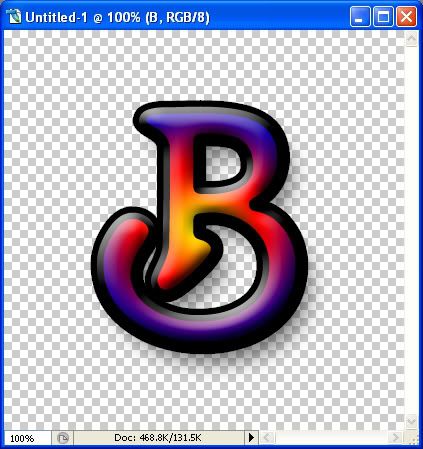
* All of the effects that is used in creating that style has now been applied to your text letter. Take a look at the bottom of the palette. Click on the layer style button (the grey circle with the letter f in the middle).
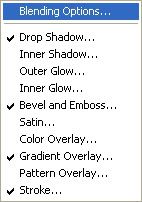
* Drop shadow, bevel and emboss, gradient overlay and stroke all have a checkmark next to them. Those checkmarks indicate what effects were used in creating that particular layer style.
5. Click on Blending Options at the top. You'll see in the side panel on the left those same headings with the checkmarks in place. If you want to make any changes to any of them, just click on the section name. Click on OK when you are done.
6. If you want to revert back to your original text letter without any styles added, click once on the white square with the red line going through it.
* Next, we are going to load an .asl layer style file. You'll need to sign up to Adobe Exchange to download a practice layer style for this next part of the tut. So, go Here and sign up for an account.
* I have a folder named Downloaded Layer Styles on my PC and I put all styles that I've downloaded into there. I suggest you do the same.
* You can download any one of them to try out, but if you want to use the same one I am using, you can go Here and download Konst's Styles, and save the zip to your designated styles folder on your PC. Unzip it as well.
7. Click on the arrow pointing to the right, and from the drop down box choose Load Styles.
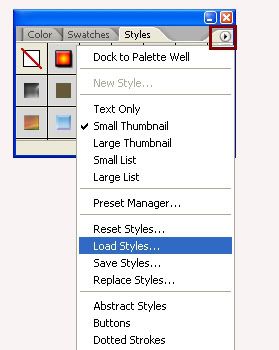
The Load box will pop up. Navigate to where you have saved the konst.asl file you downloaded from Adobe Exchange, ( or another one of your choosing) click on it to highlight it, then click the load button. In your styles palette, you will see all of the different styles you can choose.
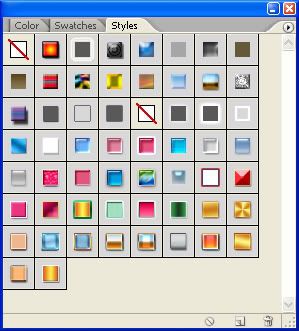
8. Click on each of the layer styles to see how your letter looks with a style applied. Also, go down to the layer styles button at the bottom ( the grey circle with the letter f in the middle) and play around with some of the settings to get a feel of how you can change and create your own.
* That pretty much covers what layer styles do and how they can help you in creating and desigining your projects :)