1. Open up a transparent canvas., large enough to have extra space at the top, bottom and sides to work with.
2. Select your Marquee tool, and draw out a rectangle shape to the dimensions that you want your paper to be.
3. Set your foreground colour to e2c9a0 and your background colour to f9ebd7.
4. Go up to the Filter tab at the top and choose Render, then choose Clouds. You should have something similar to this:
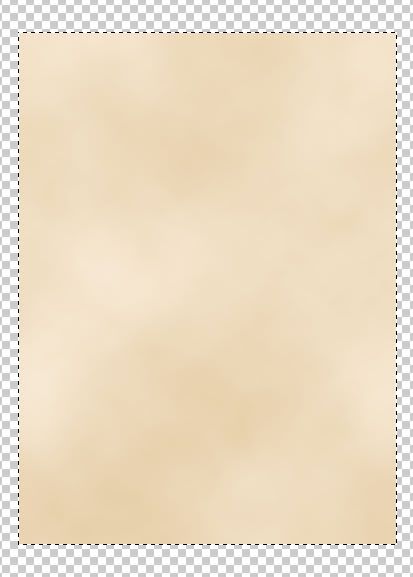
5. Go up to the Select tab, and choose Deselect.
* Now we are going to make the edges a bit jagged, and add a few tears.
6. On the tools bar at the left, click on your Lasso tool.
* You may want to add a new layer and put a darker colour background behind your paper layer in order to see your paper edges better.
This next part is totally up to you to decide how much or how little you want your paper to have jagged edges and tears. I'm just going to tear off a corner, and maybe take a few little pieces out here and there.
7. Make sure your paper layer is selected in the layers palette. Click and hold down your lasso tool once on the outside of your paper layer and just drag your cursor to outline the top left corner of the paper. It doesn't matter what the lasso looks like on the outside of the paper corner, but the part that is actually touching the paper is how jagged it will look once you delete the actual corner.
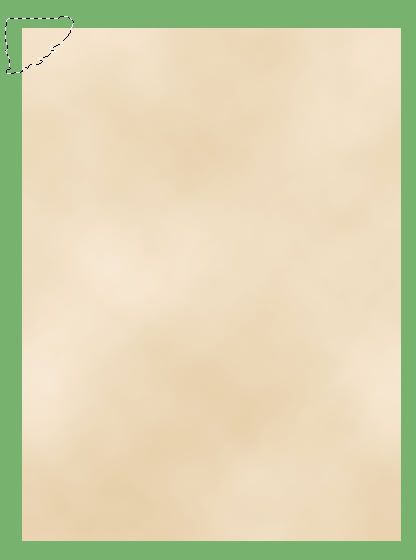
8. Hit the Delete key on your keyboard.
9. Go up to the Select tab, then to Deselect.
10. Repeat these steps as many times on different parts of your paper to get the ripped or jagged look that you want. I did a few more and this is what I ended up with.
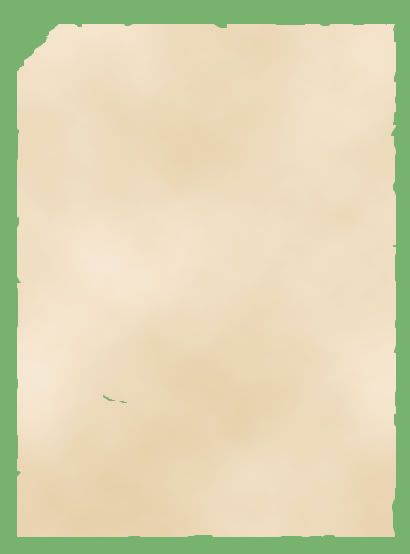
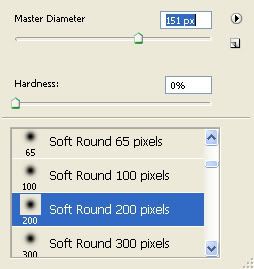
11. Select your Burn tool, and go up to the Brush Preset Picker and click the down arrow beside it to get a list of your brushes. Choose the one called Soft Round 200 Pixels, and change the diameter to about 150. Set Range at Shadows, and Exposure to 40%.
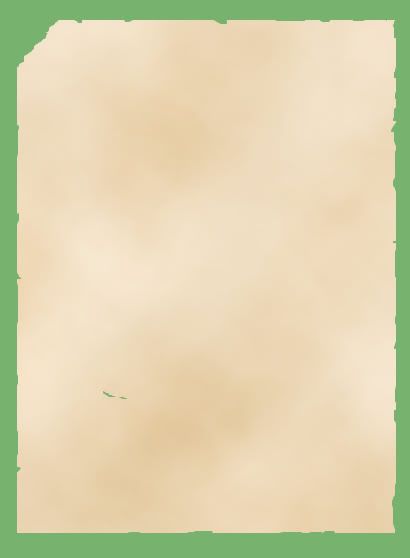
12. Make a few swipes with your large brush to give it a few darker shadows. This is what I ended up with.
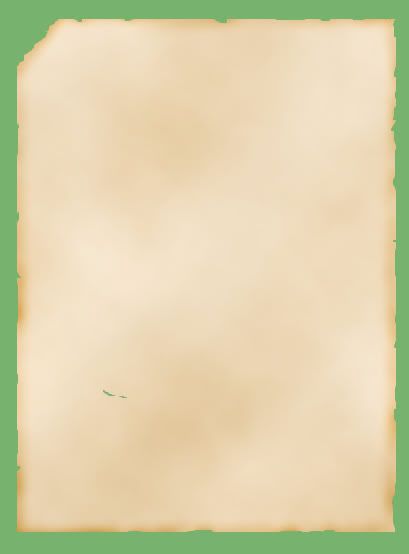
13. Still working with your Burn tool, decrease the brush size to about 30 and change the exposure to about 50%. Do some swipes around the edges of your paper to burn those. This is what I ened up with:
* Stains, scratches, and dirt brushes are a good way of grunging up your paper a bit, so it doesn't look so smooth. I downloaded these brushes from ariadne-a-mazed at deviantart to get some waterstains.
14. If you haven't already, load the stain brushes. I used stain #12 at a size of 150, Range is set to Shadows and an Exposure of 90%.
15. Still using the Burn tool, position your brush somewhere on your page and click your mouse about 4 times in a row in the same spot.
* Take a look at your page, if you want it darker or lighter, click the Step Backwards button under the Edit tab 4 times to undo your water stain and try again. This is what I ened up with:
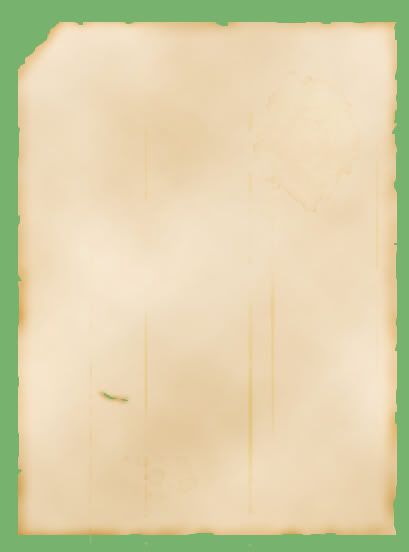
16. Continue on with your stains and scratches to dirty up your page. When satisfied with your look, hide your coloured background layer (if you have one) and Merge Visable.
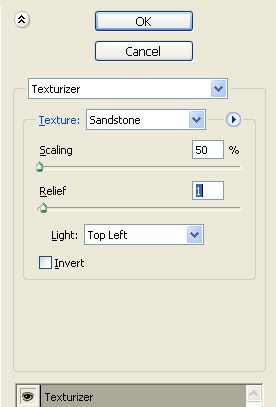
17. Give your paper a texture. Go up to the Filter tab at the top, down to Texturizer and use these settings:
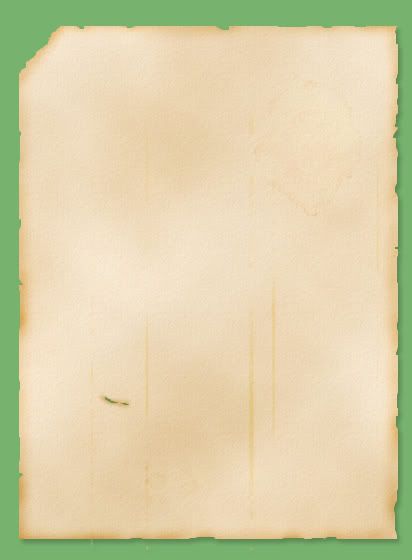
This is my final result:

* You can use this technique to make old frames, polaroids, ect.........
TOU:
If you do this tutorial, your end result is yours to do whatever you wish; give it away as a freebie, use it as part of a kit, or sell it for profit. You may not make this into an action or script to give away as a freebie or to sell for a profit. A mention or a link back here would be appreciated but is not mandatory. Please do not share the supplies or tut through email or any other means. If you are using this or any of my tutorials for your groups or as part of your own tutorial, please post a link to the tut on my blog and let your members download the supplies from my blog for themselves.

